
- A green circle measuring 6 15/16 in.
- A brown rectangle measuring 9 2/16 x 2 3/8 in. (use the pen/marker to mark where to cut)
- brown scrap felt (for seeds)
- Scissors
- Thread
- Stuffing
- Sewing needles
- A pen or marker
HOW-TO
Inside -
- Cut many small slivers, and sew them all onto the green circle. Sew two stitches per sliver. These are the seeds.
Skin -
- With the brown rectangle, cut four rounded triangles (this means the bottom of the triangles are flat, but the sides going up to the point are rather round). Make sure that they reach all the way around the green circle.
- Sew two together, then add the next one onto one side of the two that are attached.
- Sew the fourth one onto on side of the three that are attached, leaving one side open.
- Sew the top corner of the fourth one to the rest, then the very bottom corner.
All -
- With the seams still showing, put the green circle on the bottom of the four brown triangles (the stitches behind should be showing. In other words, the green circle is backwards right now) and sew it on. It might be a bit to large to fit right on the circle. Just fold it over a TINY but in a couple places. It should do fine. Right now, it should look not very rounded, and there should be a flap hanging open.
- Flip it inside out and stuff it. Be sure not to stuff it too much, or else it just looks round and fat, and weird and really un-kiwi-ish. Really.
- Make any adjustments.
Tada!
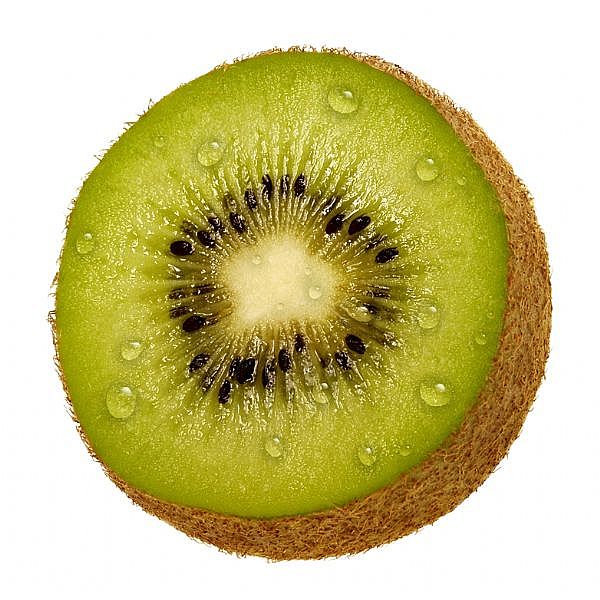 |
| Kiwi! This is sort of what it will turn out like, just a bit more puffy where it is cut. (The Art Drawer does not own this picture) |
Clarifications, comments, concerns, observations, or tips for others? Leave me a comment below!!
Random + Writing,
CB
No comments:
Post a Comment
Questions? Comments? Post them right here!