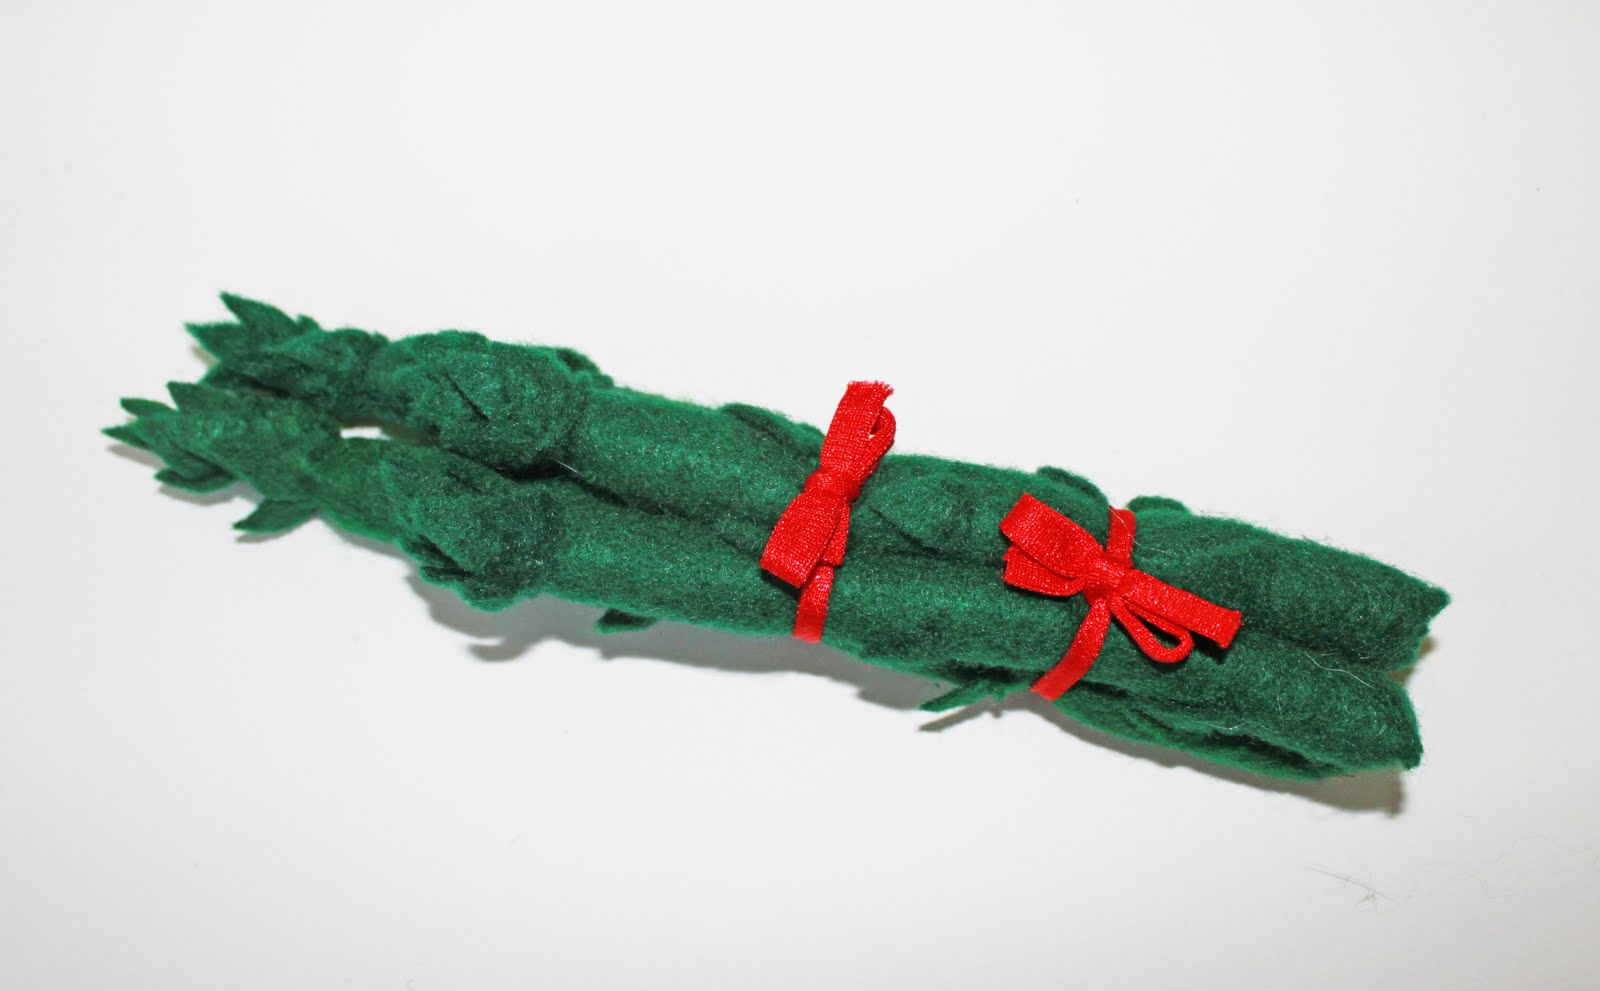
The Signs of the Holidays
Time Duration: 28 seconds
Music: Piano, Guitar, Strangs, Tamborines, and Muffins (Garageband music by CB. Rights protected)


 |
| Strawberry! (the Art Drawer does not own this picture) Results of these instructions may vary from the picture shown above. |

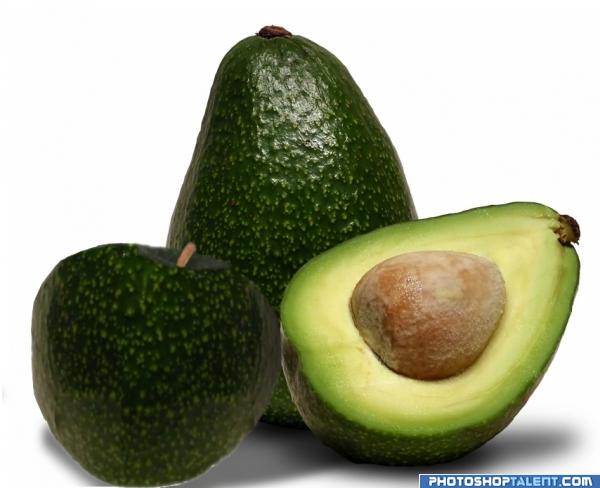 |
| Avocado! These show the color of the skin, a pretty good version of the color of the inside, and the placement of the pit. (As you can see from the lower right corner of the photo, the Art Drawer does not own this picture) |
 |
| Apple! (The Art Drawer does not own this picture) |
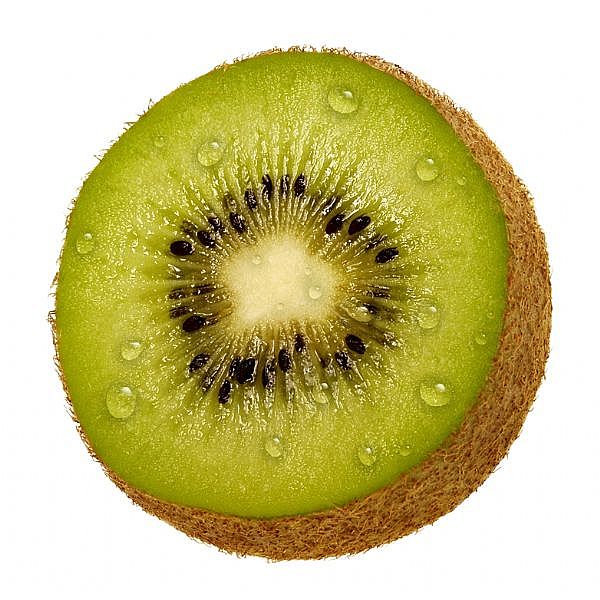 |
| Kiwi! This is sort of what it will turn out like, just a bit more puffy where it is cut. (The Art Drawer does not own this picture) |
| Corn cob! This is pretty much what you will be making! THIS PICTURE NOT PROPERTY OF THE ART DRAWER!! WE TAKE NO CLAIM ON THIS PHOTO, AND TAKE NO CREDIT WHATSOEVER. |
 |
| Sushi!! (This photo is NOT property of the Art Drawer, and we take no credit for this photo, nor the site on which it resides. Sorry for using it, but the SUSHI WAITS FOR NO ONE! |


